Martin Lawrence Photography
Tips, Advice and Locations for great Bird Photography
Posted on 6th August, 2023
Tips, Advice and Locations for Great Bird Photography
This brief article on bird photography will try and cover some tips on what type of equipment to buy, the best settings to achieve the results you want and some of the locations I found that will help you capture some of the iconic UK birds that we have all come to love. So if you are interested in taking up bird photography or taking your pastime to the next level then be my guest and give it a quick read and hopefully you will learn a little which will wet your appetite to get out there and start shooting.
Equipment and Settings
You don't always have to have expensive equipment to capture impressive photographs of birds but I must admit it can help. If you are happy with just photographing garden birds when they are relatively stationery then most cameras will perform this quite adequately. If fact, nowadays, some of the phones in our pockets can also do a great job. So I'm not here to get you to buy expensive equipment but just to inform you that you have to decide what type of bird photography you want to do, what extent the quality is important to you and then perhaps buy the equipment that suits your needs and affordability.
Equipment
I cannot stress enough to buy light !! This is extremely important, especially if you are walking long distances to shoot birds in the wild. A few years ago I bought the Canon 1DX Mk 2, the Canon 500 mm mk 2 prime lens, extender, battery grip and gimbal head tripod for stability. All fantastic pieces of equipment and providing you can get to your location without walking too far and the location is suitable to set up a tripod and long lens without being noticed then you can't beat this set up. It gives you reach and quality which are two of the basics for good wildlife photography. However, if you are having to walk some distance to your location which is out in the open with your equipment on show for all to see then I can assure you, it won't be too long before you realise things must change.
With this in mind I have now gone mirrorless buying the Canon R5. I have coupled this with the Canon 100 - 500 RF lens and the 1.4 extender. This is so much lighter, gives me the same reach and due to the weight I can now rest it on window ledges in hides or on monopods. I have also purchased the adapter ring so EF lenses can be used with the RF system allowing you to still use those expensive lenses you have previously bought. I suspect most manufacturers have done the same thing, not just Canon. I'm not saying you have to go down the mirrorless avenue but weight is a really important issue for me and this system should be considered.
Settings
I could write a book on camera settings so I don't really want to bore you with so much detail. The exposure triangle is a good concept to thoroughly understand as it really is the same for all types of photography not just wildlife. The three aspects of the triangle are ISO, aperature and shutter speed. So to keep things simple I would suggest the following - use Manual Mode so you have complete control over your exposure. Open up the aperature to the widest your lens will go to. This will do two things - 1) give you a shallow depth of field blurring out the background. This will allow your subject matter ie the point of focus to stand out against a blurred background and 2) allow you to shoot on faster shutter speeds which enables you to capture sharper detail. Freezing movement on subjects that are constantly on the move is so important to the look of the image. No one likes to see blurred images of birds. The second part of the triangle is shutter speeds which we have just mentioned. Always try and shoot as faster shutter speed as you can and opening up the aperature will enable you to do this much better. A good rule of thumb is if you are using at least a 500mm lens then the shutter speed should be at least a 500th of a second or faster. This is not 'mandatory' but it's a good rule to start with. The more experienced you become the better you will be at judging what shutter speed you want for the effect you are trying to create. The last part of the triangle is the ISO. The ISO is just the same as the film speed on film cameras. The higher the ISO the faster you can shoot as you are making the cameras sensor more sensitive to light. Just be careful though as the higher ISO you use the more 'noise' you are introducing to the image. Most cameras nowadays have got alot better at keeping noise down to a minimum even at higher ISO settings. I find selecting AUTO ISO a good option as the camera checks on your aperature and shutter speeed settings you are using then gives you the appropriate ISO for a perfect exposure.
So for me, as a stating point for bird photography, I would set up the camera as follows -
1) Set the mode to Manual
2) Set the aperature to the widest your camera will allow for the lens and focul length you are using.
3) Set the shutter speed to at least the focal length you are using or to a speed you want to create the image you have in mind.
4) Auto ISO
5) Shoot on 'continuous shooting mode' so you are taking lots of shots in quick succession. This will enable you to pick the one you want in post processing thats fits your criteria.
6) Choose a focus point that allows you to track the subject whilst continuing to 'pan' the camera whilst tracking the moving subject at all times. This is not an easy concept to master but will pay dividends once mastered.
7) Select a suitable media to keep your camera steady, whether this is with a tripod, mono pod or gimbal head. It may be that a simple 'bean bag' resting on the window frame in the hide is the perfect combination. Or simply hand held once your technique improves.
Locations
I suspect this is the 'holy grail' in bird photography. There is nothing worse than staying at a loction for hours with nothing to show for it. I have the 'tee shirt' and it's not nice. If you are therefore new to this type of photography then why not start to improve your technique in your garden or local park. A good shot of a robin can be just as rewarding than a good shot of something less familiar. Keep a log of your efforts and keep comparing them so you can see your improvement. You can sometimes learn more from your bad images than from the good ones. You can see where you've gone wrong, identify the problem then correct it on your next outing
Garden Photography
I suspect this is the easiest location you will shoot. You can go out when you want, you know what birds to expect, you know the best time of day and you can come in for a cuppa when it's quiet or your butt has frozen.
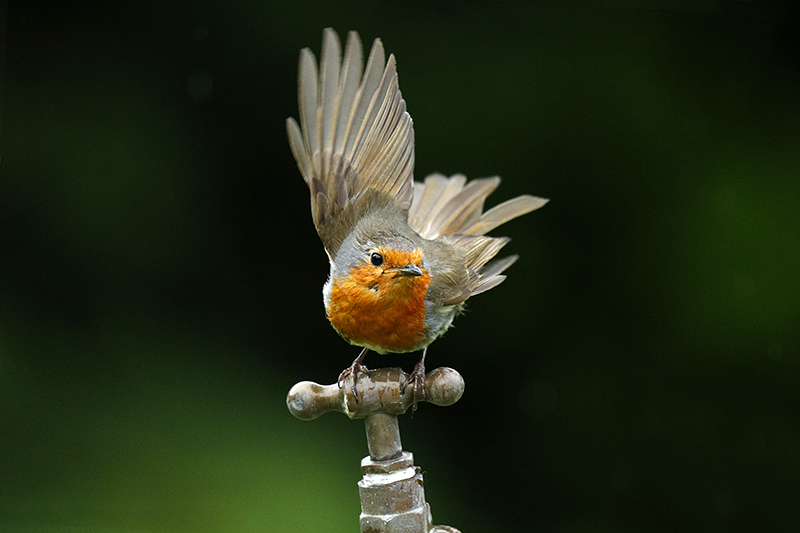
Don't just hide away and take shots that anyone can take. Try to be imaginative and set up some 'props' to give your images a look that's different to everyone elses. Here I set up an old 'tap' for robins to land on. It needn't be a tap but just look for something that's a bit different - themes can be numerous. An old stone boot, a spade handle or watering can make great props.
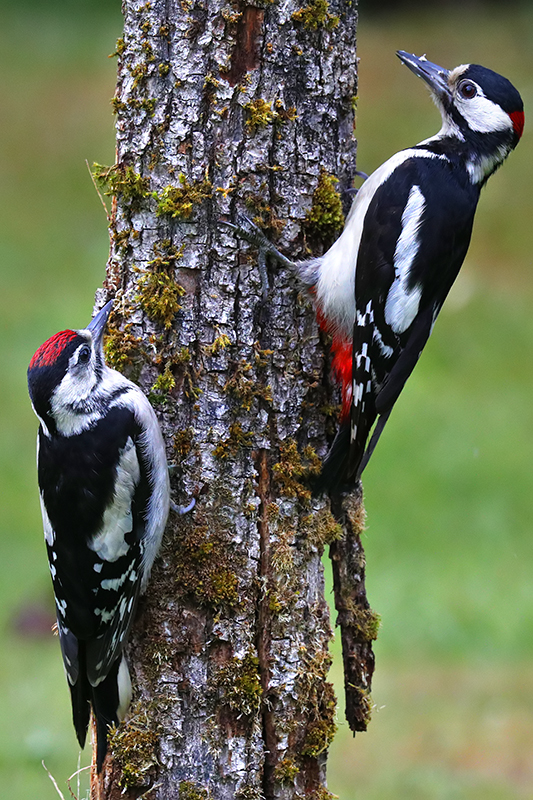
We have a family of woodpeckers that come and look for grubs in the tree bark. I had an old tree in the garden so peeled some bark off and covered a fence post with it, Hid some peanuts away from view and sure enough the woodpeckers found it and the word was out. Patience is the key but you can certainly help things along with imaginative props.
RSPB Locations
Leighton Moss
It seemed obvious to me that if I wanted to take photographs of birds then why not join the RSPB and WWT. There are two of these locations in the North West of England but I'm sure no matter where you live there will be some close to your home. The two locations I go to are Leighton Moss near Silverdale and Martin Mere near Southport. Both have great hides, a good selection of birds and some great ameneties. The people there are always friendly, give great advice and let you know what's showing and from which hide. This is really helpful as some of these locations can be set over hundreds of acres and any help you can get can save you time searching and wasting your day. Leightom Moss has an extensive reed bed and plenty of fresh water lakes together with hides overlooking saltmarshes along Morecambe Bay. It's only a short distance between the two so you can completely fill your day with photography plus a bite to eat as well.
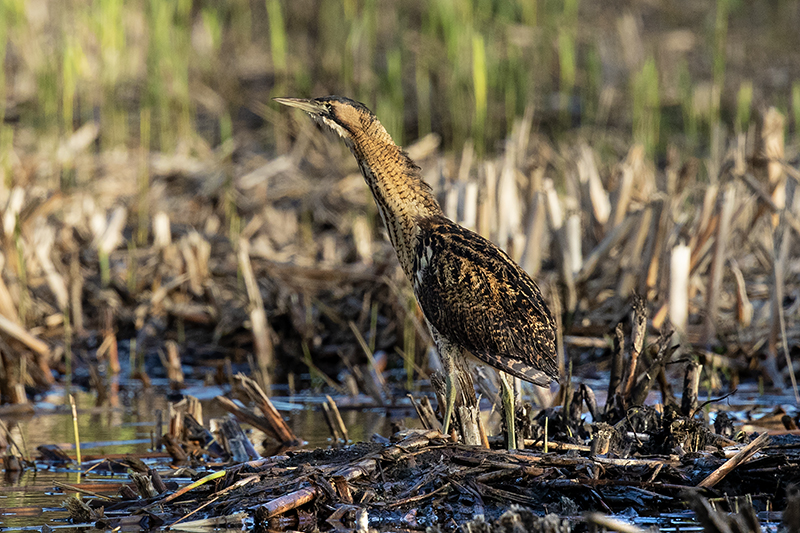
One of the recent images I have taken at Leighton Moss was of a Bittern. This is a really shy bird and not seen very often. You often hear the 'boom' call from the reeds but they seldom come out of cover so I was really pleased with this effort although I did still have to wait a few hours. Great thrill and one off the bucket list.
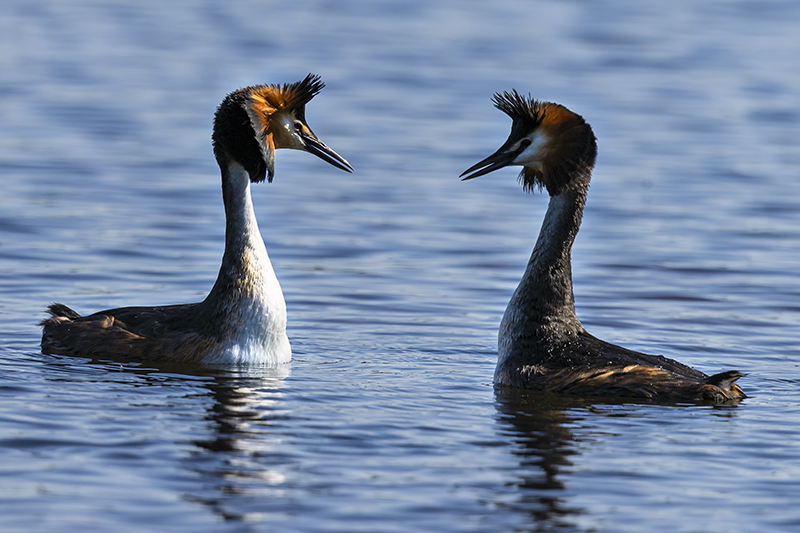
During my many visites to Leighton Moss I had seen several Great Crested Grebes and was told that in the spring they would start their courtship ritual which was fascinating to watch. Everytime I visited there from April onwards I would ask if the Grebes have started yet. No was always the reply from the volunteers. Then on one visit in May the reply was 'yes'. Luckily they had started to build a nest near one of the viewing hides so it was just a matter of coming back time and time again ready to capture this spectacle. The movemnt of the birds were in total sync with each other and I was told the more experienced the pair the better their dispaly. They have two sets of breeding pairs at Leighton Moss one more experienced than the other but both pairs were fascinating to watch. This was an image from one of their 'dances' in some beautiful early morning light.
Morecambe Bay
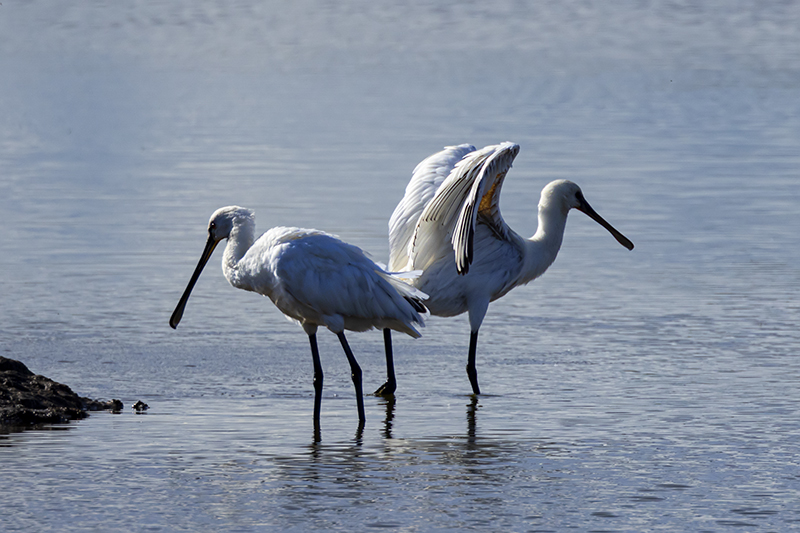
The volunteers at Leighton Moss always mention to you that it's always worth the two mile car drive to check on the saltmarshes along Morecambe Bay. It was reported that some Spoonbills had been seen in the area. This was one bird I had seen but never photographed so I though I'd take a chance. Sure enough there were 9 Spoonbills feeding and displaying about 50 meters from one of the hides. However, I was not alone as 6 other photographers had beaten me to it but I still managed to get a good place with a great view of the birds. It's so important to ask questions when you go to a location as it can save you hours of walking or waiting around seeing nothing. This was a great example as I came home with multiple images of a bird I had never photographed before.
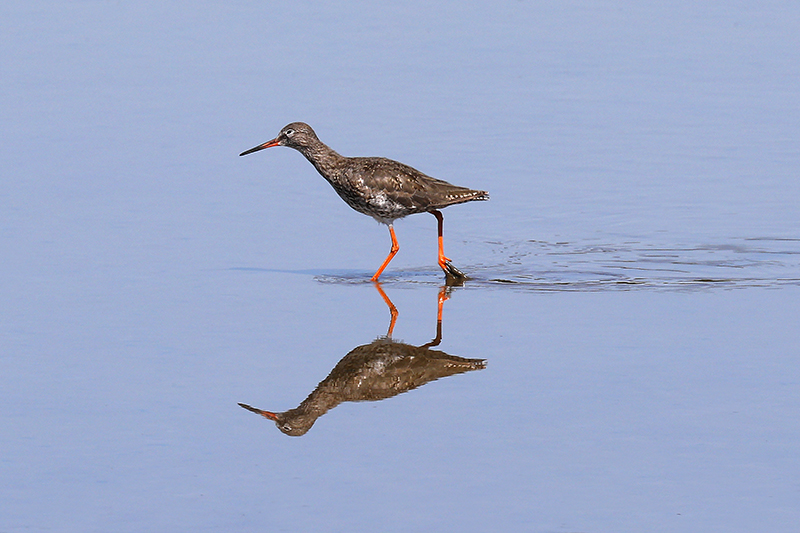
Morecambe Bay is great for waders as well who sift through the sand and mud looking for things to eat. Red Shank and Green Shank are perfect examples of this. Although slighly different in size you can tell them apart by the colour of their legs. This is an image of a Red Shank taken in the late evening sun.
North East Coast
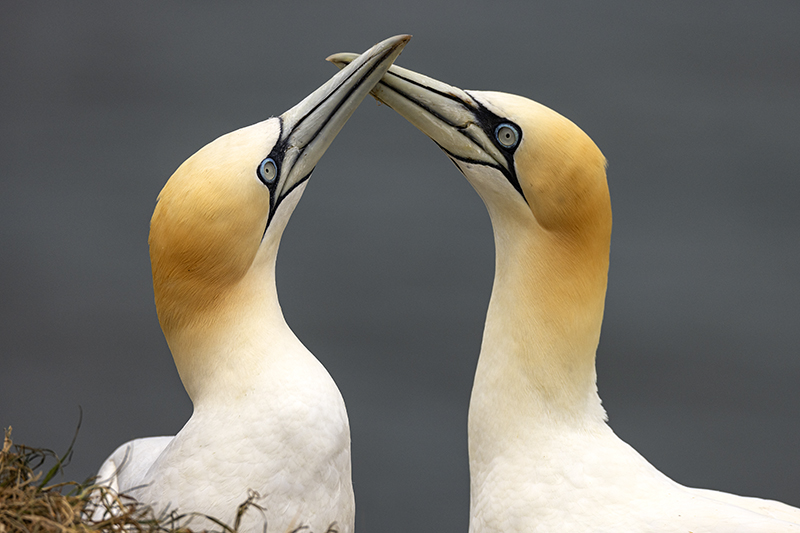
I have to admit some of my favourite locations for sea birds is on the North East Coast. You have locations such as Bempton Cliffs, famous for Gannets and The Farne Islands which are famous for Puffins and Arctic Terns. Bempton Cliffs is another RSPB centre with miles of walkways along the cliff tops with several viewing platforms along the way. This is a truly great spectacle to watch, thousands of Gannets flying and nesting along the cliff edge. Try and arrange your visit in the spring and early summer when the birds are most active in making their nests, courting rituals and eventually rearing their chick. Gannets are some of the most colourful birds I've had the pleasure of photographing and well worth the visit to this fabulous location. You don't necessarily need long lenses as they fly quite close to the viewing galleries but you must make sure that your 'panning' technique is up to scratch if you want to capture them in flight.
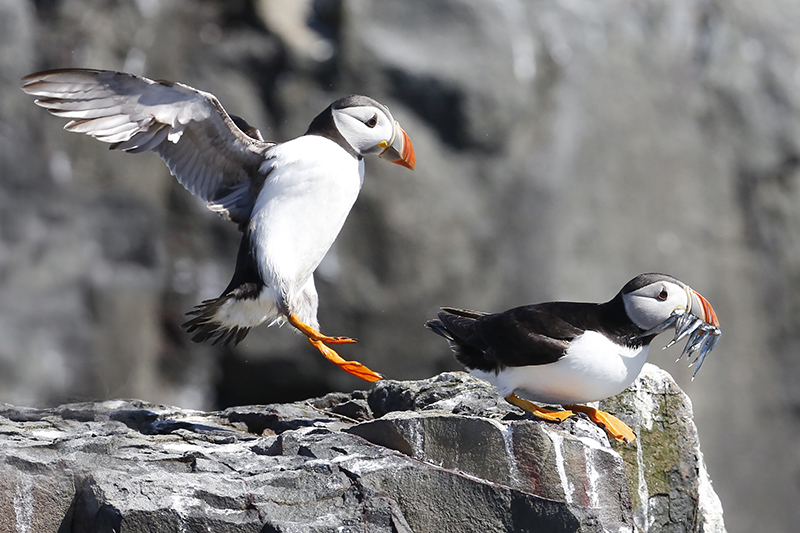
The Farne Islands are a magical location - I've been several times over the last few years and have never been disappointed. Unfortunately the National Trust have stopped people landing there due to Avian Flu but when the ban is lifted it should be one of the first venues you go to especially for Puffins and Arctic Terns. You can take one of the trips from Seahouses across to the islands where normally you can stay for the day and take your photographs. I remember the first time I went across hoping to see the famous Puffins I brought all my long lenses and was loaded up to the gills. We set off from the dockside and as I looked around the boat at all the other photographers going for the day most of them were looking at me with a smile on their faces. I wasn't sure why as I knew I had some decent gear that wasn't cheap and my clothing was suitable for the trip so it left me in a confused state as to what it might be. As soon as I landed I knew why ! The birds were that close to the paths and trails that I really didn't need all the long lenses I had brought. Don't get me wrong the long lenses did come in handy for long shots of the birds flying in from the sea with their catch of sand eels but if you bring just your standard zoom lenses then I can asure you this will be sufficient to capture great images of these comical and beautiful birds.
Pay for the Pleasure
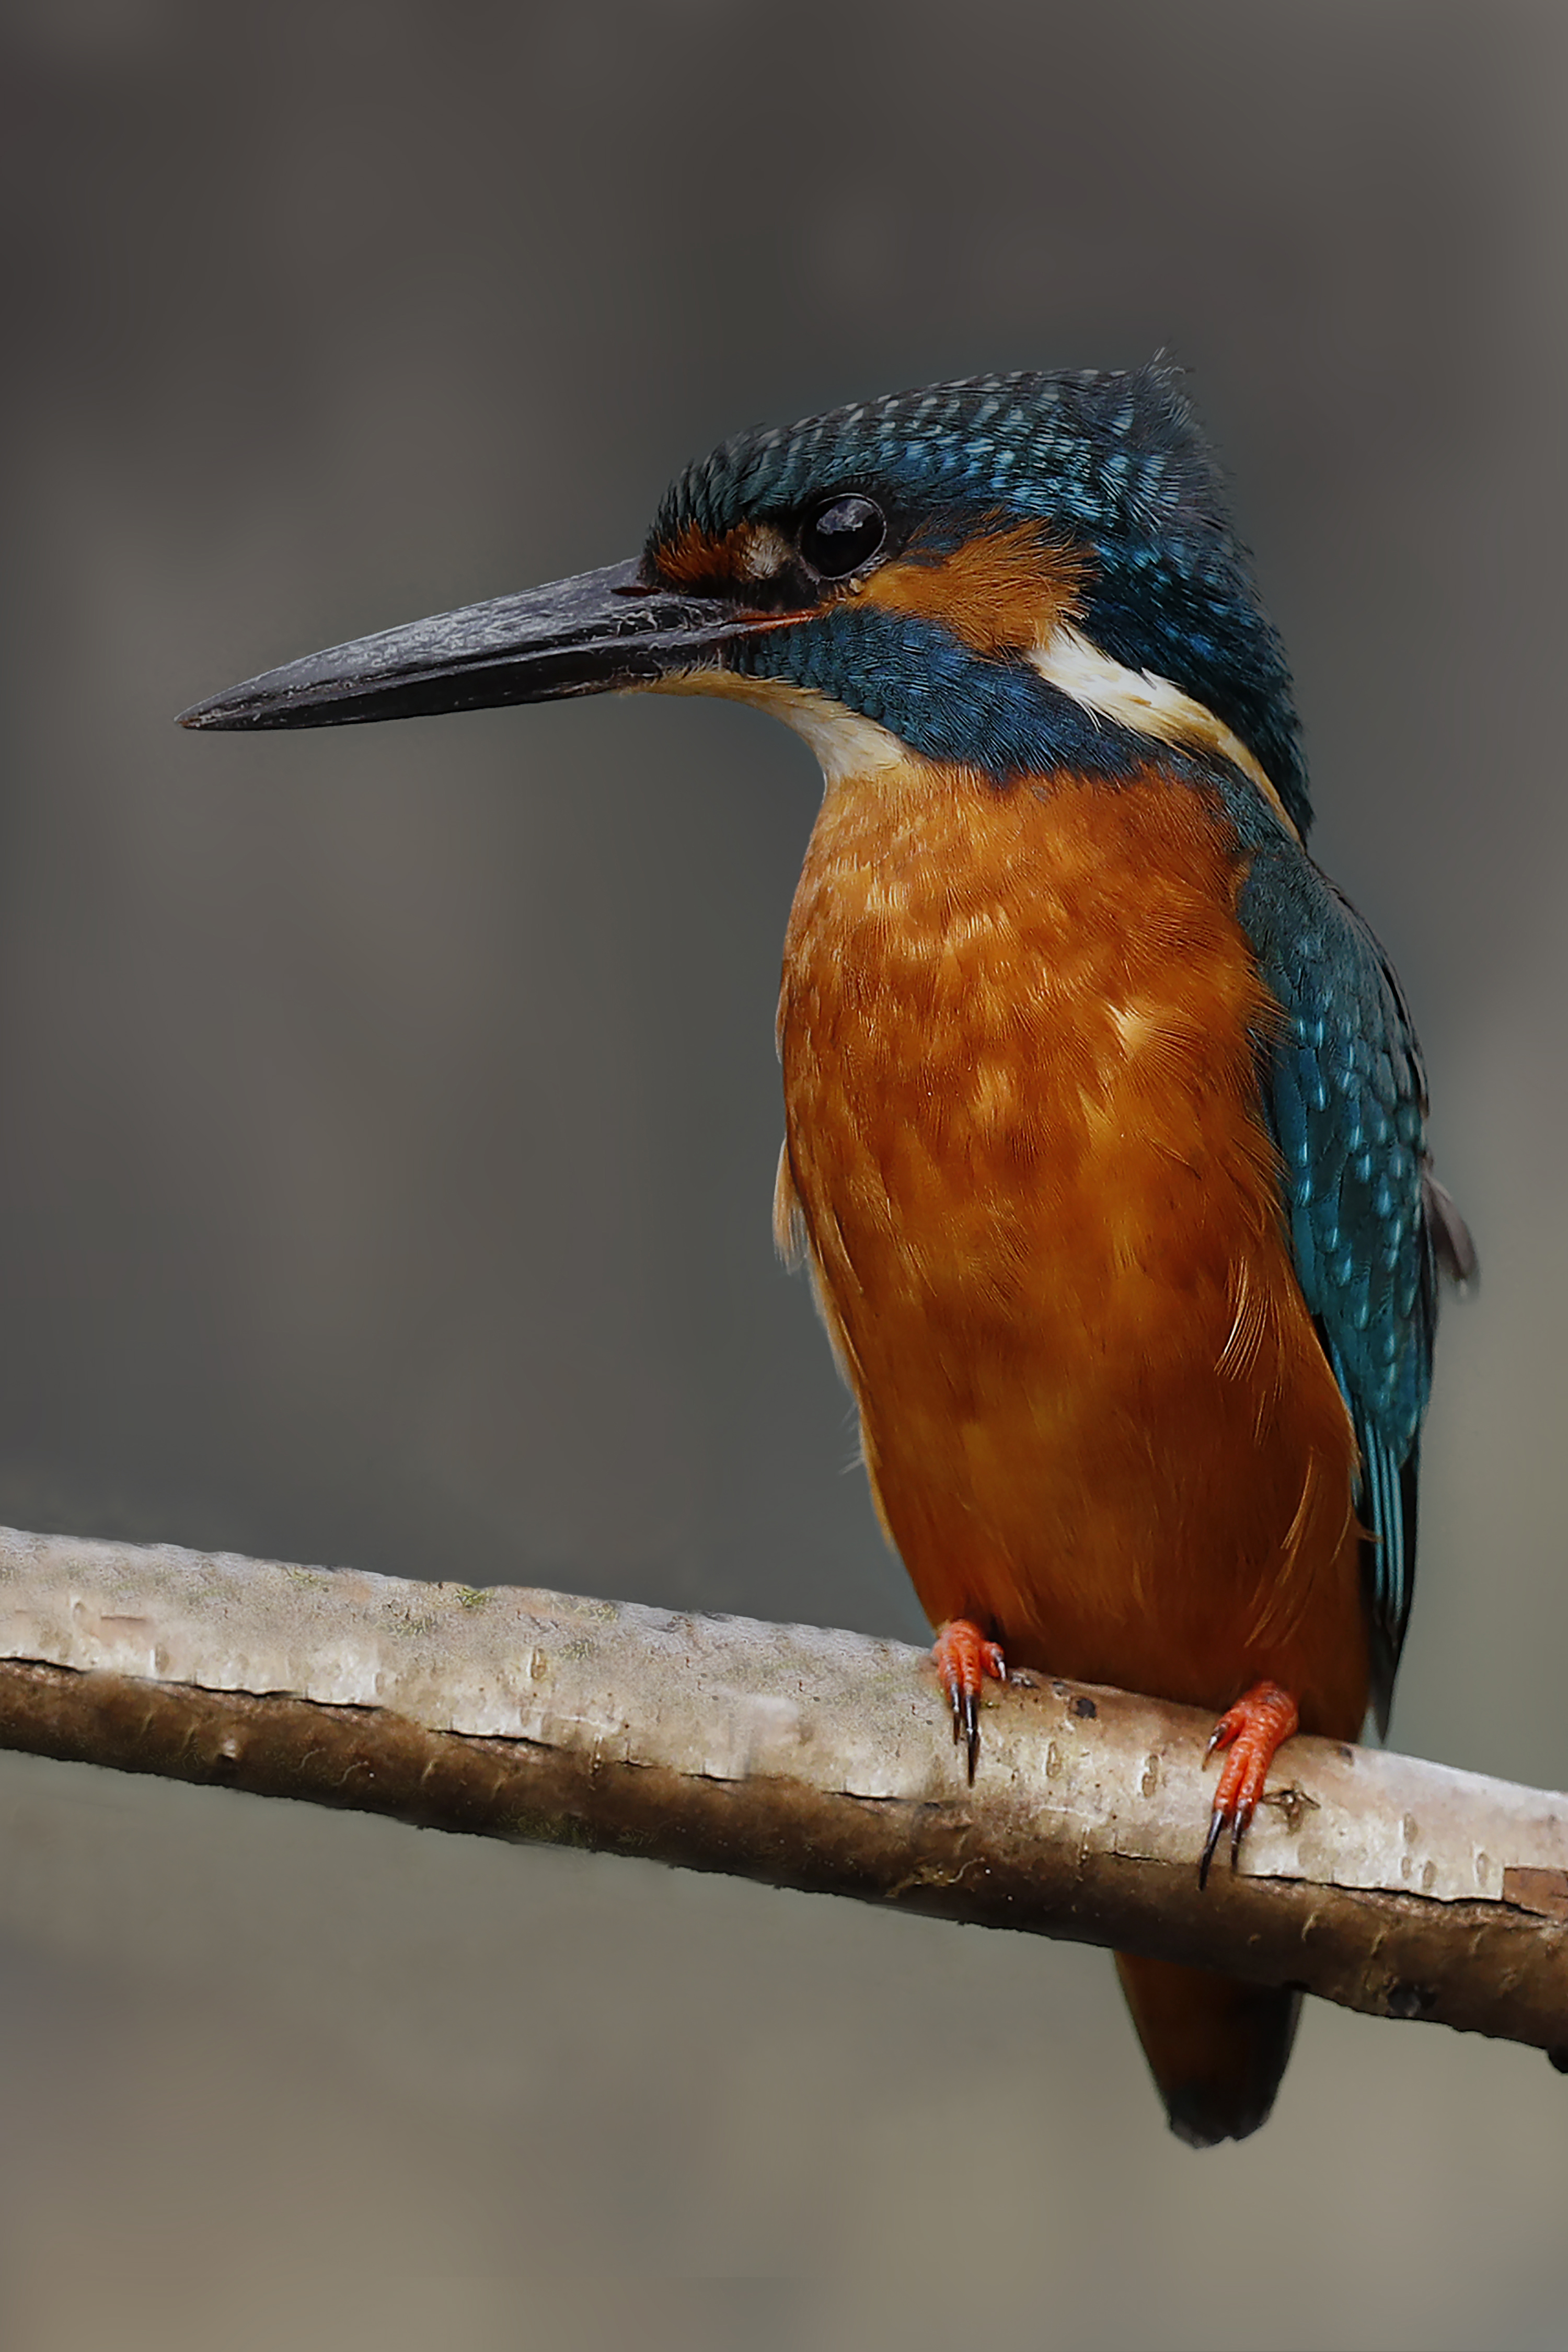
One of the sure fire ways of getting the images that you are interested in is by paying for a days photography at a hide that is set up purely for photographers and specific bird species. These next two images I took were from two differnet hides at the same location in the Midlands where the ground work had already been done by the owner over many years. True, that for these species appropriate food had been left every day to get the birds used to feeding and making sure that the surroundings were safe. The owner had also used really natural props with great backdrops that were perfect for bird photography. You still have to wait for them to appear but generally they are right on point. I was told by the owner to bring two cameras, one that could be set up outside the hide focusing on a pool where several wild fish always congregated. The focus point could be on the surface, then switched to manual focus so the lens would not 'hunt' at the crucial time and a remote shutter release system which could then be taken into the hide that could be set off at the right time. This seemed to work perfectly although it wasn't till the session ended that you could see the images you had taken, The other camera was with you in the hide and set up for still photography when the bird had perched on its favourite post ready to strike. The whole set up seemed to work and was well worth the money. It enabled you to not only see up close a really shy bird but also to get some action shots that you would be very lucky to capture just by chance.
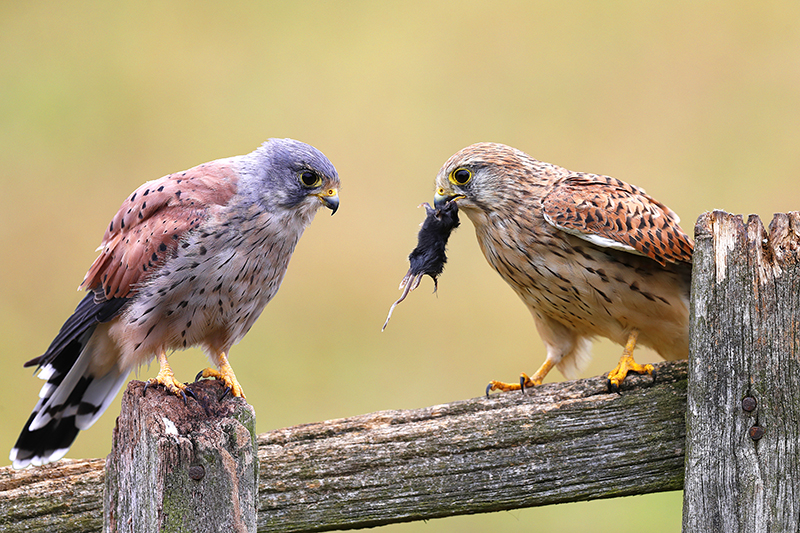
At the same location the owner had several Kestrel families that patrolled the skies above the farm. The owner had an arrangemt to take chicks from a chicken farm where some of the chicks had died by natuaral causes. This seemed to be a 'green' and 'environmentally friendly' way for the chicken farmer and the Kestrels alike. It also seemed to sit well with the photographers. Of course sometimes these birds would catch wild prey and take it back to the same area as they knew this would be a safe haven to have their meal. This is an image of a juvenile Kestrel and an adult male where they both had came together to discuss breakfast. The juvenile had the prey but I can assure you that this situation didn't last long. The beauty of these hides is that you are almost definately going to see the birds you want and they are going to be close to the hide and that they will be happy for you to photograph them. It's a great way to spend a day with your camera.

Luck of the Draw
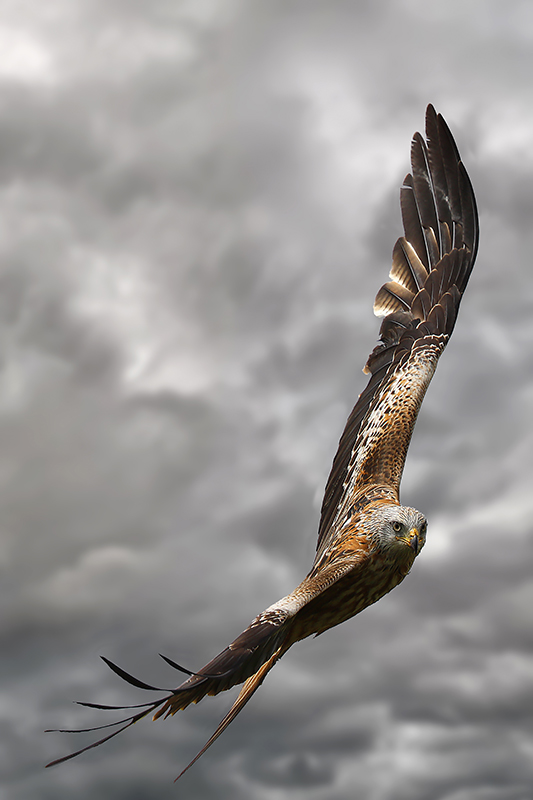
I do lots of Landscape Photography Workshops in the Lake District so I am constantly in the north west. I wanted to do some red squirrel photography in Dumfries which is not far from where we have a lodge that the family goes to several times in the year. I had all my gear set up in the back of the car ready for the day. Long lenses fitted, settings all worked out on the camera, batteries fully charged and clean SD cards awaiting to be filled. Leaving Cumbria and entering Dumfries I noticed several large birds of prey in the distance and it wasn't till I got closer I realised that it was a family of Red Kites. These birds are making a good go at establishing themslves all over the country which is great to see. A real success story. They seemed to be circling in a small area so if I could park up an get set up then I would have a good chance of capturing a new bird for me. These raptors are stunningly beautiful, acrobatic and didn't seemed to be bothered that I was there. I have to admit I was so excited as to what I was watching. They flew around for a good half hour sometimes flying straight towards me looking right at the camera. I was also lucky with the heavy cloud formation as it made the birds stand out and added drama to the images. I must admit, this to date, was the best bird photography I have done - it wasn't planned, I hadn't gone out to take photographs of Red Kites and they were all flying wild. A great experience and one that got me hooked immediately !!
