Martin Lawrence Photography
Tips for shooting in the rain
Posted on 20th March, 2018
The word "rain" can bring on a sense of panic even to a professional photographer. Whilst it would be nice to wait until it clears up and return when the sun has decided to come out again, this isn’t always possible. You may be on holiday visiting a location that you can’t return to, or photographing an event that can’t be rescheduled. It’s inevitable that, at some point, you're going to have to face some rain.
The good news is that you don’t need to hide away from it. With my Tips for shooting in the rain, both you and your camera can be well prepared to face those sudden showers.
Still go out and shoot!
Most people look out through their lounge window, see it raining and put their camera straight back into their bag. Wrong!! You can get some of the most dramatic shots you’ll ever have taken in the rain – trust me. All you need to have is the right clothing for the wet weather and some protection for your camera gear. Regarding footwear—I always wear a pair of wellies in the wet. I know they’re not the most fashionable accessory but hey they’ll keep your feet dry especially when the fells start to flood and pockets of lying water start to form. When shooting on the banks of tarns, lakes and rivers you can get some interesting and unusual foregrounds if you just wade out to a safe distance.
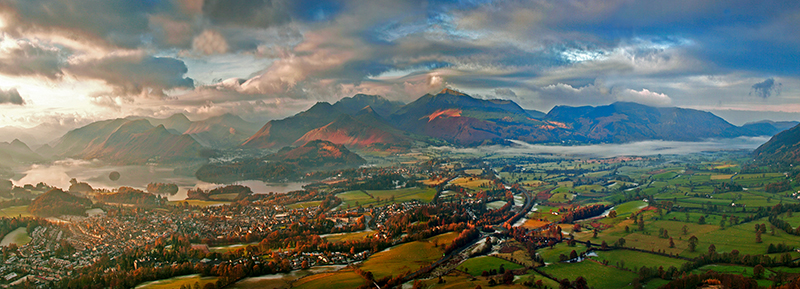
Late afternoon storm over Keswick from Latrigg Prints Available
Covers for your camera
These can range from Storm Jackets and Rain Coats to just ordinary Rain Sleeves. The jackets and coats are the more expensive with prices around the £50.00 to £70.00 mark whereas the sleeves are far more inexpensive and come in around the £7.00 to £13.00 mark. Most of the sleeves and jackets protect your gear from dust and inclement weather and are suitable for handheld or tripod-mounted use. Just make sure you buy the one most suited to your type of wet weather photography. The covers also allow you to access manual focusing rings should your preference be for manual focusing. Camouflage covers can also be purchased for you wildlife photographers. Just make sure you buy one that can quickly be fitted, is waterproof, light and can fold away into a small area of your camera bag.
If the above isn’t your bag then I have seen photographers with large plastic bags with cut-outs around the necessary camera parts. Whilst this doesn’t look pretty it serves the purpose, a lot cheaper and is easily replaceable should the bag become unusable.
Use lens petals – no ND grads
I have done many a photography course in the rain and it’s not much fun using either Lee or Cokin Graduated Neutral Density filters that are attached to the front of lenses. I would say it’s almost impossible not to get raindrops on filters when using this type of equipment. Therefore, unless you are prepared to use a small neutral coloured umbrella then I would leave this equipment in the bag. I would, however, bring along the hood that came with the lens. These not only stop stray light entering the lens but also prevent raindrops from appearing on the lens. They may not stop the raindrops when the rain is driving into the camera but for drizzle and horizontal rain then they are perfect rain protectors. They are also perfect for attaching your waterproof sleeve or jacket as mentioned at point 2 above.
Look for tree cover
Sometimes just the cover of a tree can make all the difference. Try shooting with the trunk at your back and use top-level branches as a great framing technique. Set your kit up with the rain coming in behind you and use the canopy as cover for your camera – just be careful you don’t overexpose your images as the metering system can be fooled by the low level of light under tree cover. I took this image of The Jaws of Borrowdale whilst sheltering under the trees at Friars Crag.
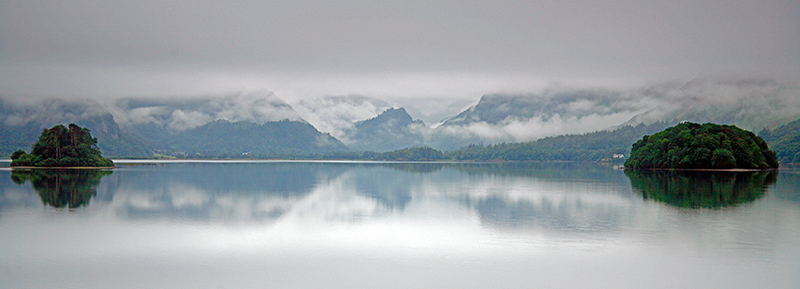
Early morning mist in the Jaws of Borrowdale Prints Available
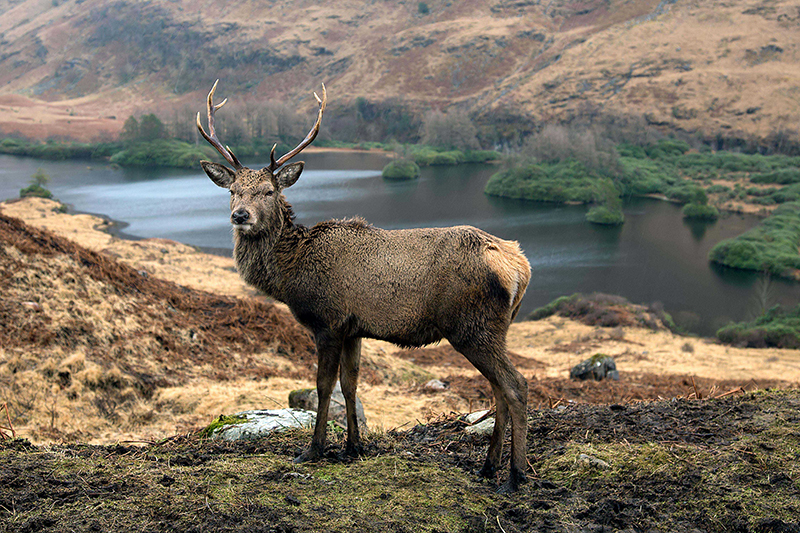
Shoot through the car window using a bean bag
I always carry with me a small bean bag that can be used on an open car window to rest your camera on. This is another piece of essential low cost kit. I have photographed many an animal or bird from the window of my car in wet conditions. Animals seem to tolerate inanimate objects but as soon as you leave the car the game is up and they run for cover. You can position the angle of your car to suit any landscape or wildlife view that you’re after.
The Glen Etive Stag Prints Available
Keep out until the rain stops
If it really is too wet for you then just don’t give up and go home but shelter and stay till the rain stops. I have captured some of my best images when storms break, clouds lift and the sun starts to shine through. Clouds often hang around in valleys and over lakes and these make very dramatic shots. Clouds often get coloured linings and the orange sunlight seems to be more intense.
Use a small coloured neutral umbrella
You can buy small neutral coloured umbrellas at little cost. This can be held in your left hand whilst also holding your camera and then manipulating it with the right. Using a neutral colour will not complicate the metering system. They obviously are not suitable if the rain is driving in, but can certainly help when it’s drizzling and there is little wind. I don’t need to comment that in thundery weather the use of an umbrella is definitely not recommended!
Watch out for reflections and rainbows
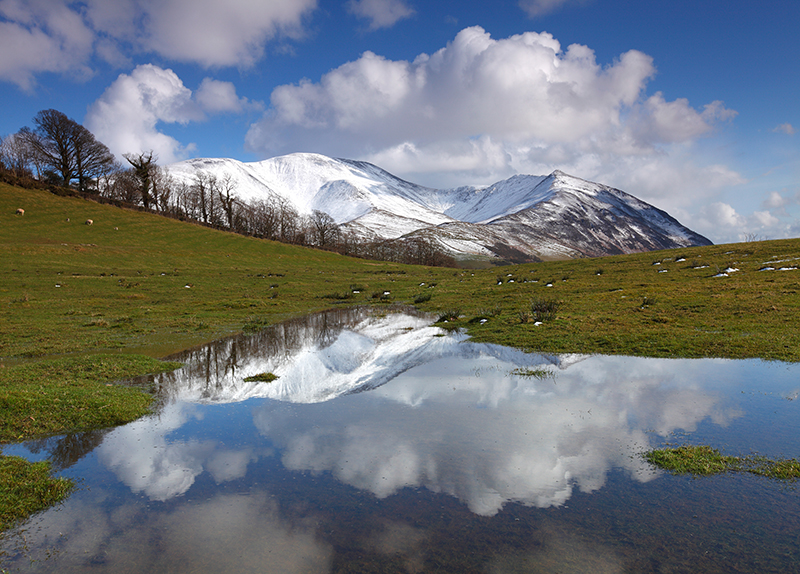
Image potential is unlimited in the rain. Reflections, rainbows, mist, low clouds, raindrops and swollen rivers and waterfalls are all rain-related topics that you should be looking out for. I think rainbows and reflections are the most dramatic and can make very unusual images that stand out against the norm. Try to get close to sheltered bays in lakes and rivers where there are calm waters. Set up your gear very low to the ground and try to capture raindrops making circles in the water. Look for reeds near tarns etc. with raindrops on them – these make great foreground interest subjects. When taking reflections try making your image symmetrical i.e. whatever appears above the waterline also appears in the reflection. These make very saleable pictures.
Rainbows are an optical and meteorological phenomenon that is caused by reflections of light in water droplets in the earth’s atmosphere, resulting in a spectrum of light appearing in the sky. It takes the form of a multicoloured arc. To assist you in capturing a rainbow, immediately slap on a polarizer. Spin the polarizer around and you’ll see the rainbow disappear totally and then reappear with greater intensity. As a rainbow is a polarized light, a polarizer will either kill the rainbow or pump up the colours enormously, depending on how you rotate it. Rainbows caused by sunlight always appear in the section of sky directly opposite the sun but you must act quickly as these can disappear as quickly as they came.
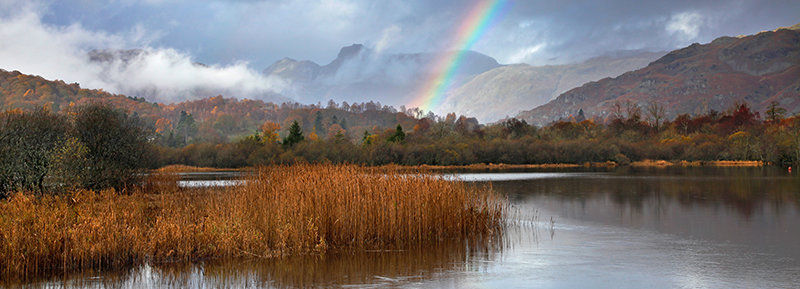
Rainbow over the Langdale Pikes from Elterwater Tarn Prints Available
Conclusion
I hope that some of the above tips will help you with your wet weather photography which hopefully will give you some great rewards for persevering when others pack up or don’t even venture out.
If you have any comments or questions on this article don't hesitate to Contact me.
Why not join me or one of my 1-2-1 or small group workshops or, if you want specific Photoshop training, check out my 1-2-1 Adobe CC Photoshop Tuition for Photographers.
© Martin Lawrence Photography 2018
